
A DIY solar generator can make sense if you want backup power for essentials and are comfortable working carefully with batteries, DC wiring, fuses, and an inverter. If you are comparing it with the best emergency solar generator for home use, the DIY route gives you more control over capacity and repairability, but it also puts the safety work on you. Start with the loads you truly need during an outage, then size everything around those loads instead of buying parts at random.
What do you need to build a solar generator?
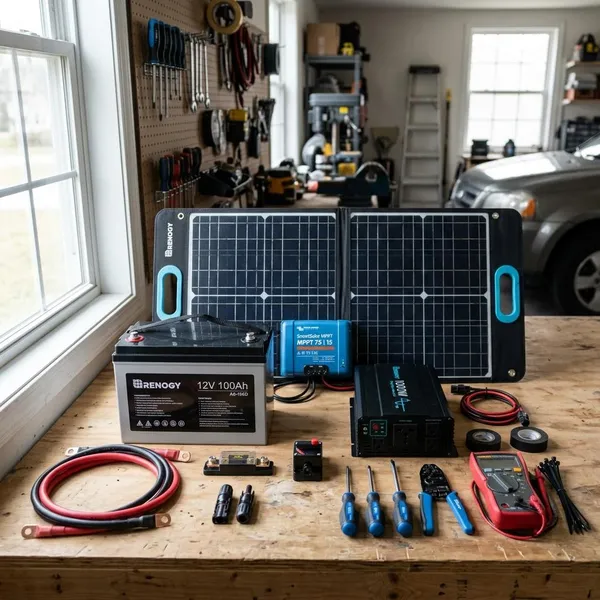
A basic solar generator needs five things: a battery to store energy, an inverter for household AC power, solar panels for charging, a charge controller to manage that charging, and properly rated wiring with protection hardware. The first decision is not the brand; it is what the generator must keep running when the power is out.
Battery for energy storage
The battery sets your runtime. A 12V 100Ah battery is roughly 1,200Wh before inverter losses and usable-capacity limits, so it will not deliver the full number to your appliances. LiFePO4 is usually the better choice for a serious home backup build because it handles cycling better than a starter battery or many low-cost lead-acid options.
- Light backup: phones, lights, router, and laptop can often work with a modest battery.
- Food protection: refrigerator or freezer backup needs more watt-hours and surge capacity.
- Medical use: CPAP or other critical equipment deserves extra margin and testing before an outage.
Inverter for AC power
The inverter turns battery power into the AC power used by normal wall-plug devices. Choose a pure sine wave inverter if you plan to run electronics, refrigerators, chargers, or medical devices, and check both continuous watts and surge watts.
A refrigerator may use a fairly low running wattage but pull a much higher startup surge for a moment. That is why a build that looks fine on paper can still trip the inverter when the compressor starts.
Solar panels for charging
Solar panels decide how quickly the battery can recover after use. A small portable panel is fine for phones and light duty, but it will feel painfully slow if you are trying to refill a large battery after running a fridge overnight.
Rigid panels usually make more sense for a home-based setup because they tend to be better value per watt and easier to mount securely. Folding panels are useful when storage space or portability matters more than daily charging speed.
Charge controller for safe charging
The charge controller sits between the panels and the battery so charging stays within safe limits. For most home backup builds, an MPPT controller is worth considering because it can make better use of panel output, especially when panel voltage is higher than battery voltage.
Match the controller to the battery voltage, chemistry setting, solar input voltage, and current. If those numbers do not line up, do not guess; choose a different controller or panel arrangement.
Wiring, fuses, connectors, and enclosure
The small parts are where many DIY builds become either safe or risky. You need cable sized for the current, secure terminals, fuses or breakers, disconnects where appropriate, and an enclosure that protects parts without trapping heat.
- Use copper cable rated for the expected current.
- Protect positive battery leads close to the battery.
- Use proper lugs, heat shrink, and strain relief.
- Keep metal tools away from exposed battery terminals.
- Leave airflow around the inverter and charge controller.
How to build a solar generator step by step
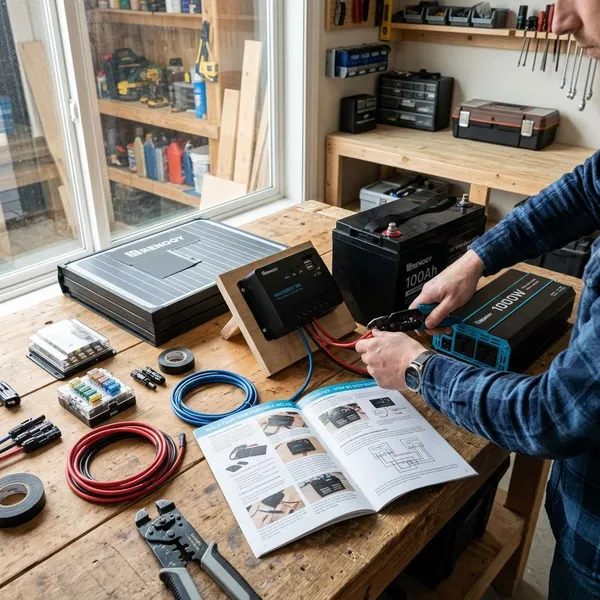
Build the system in the same order the power will move through it: battery, protection, charge controller, inverter, solar input, and outlets. Do the layout work before tightening the final cables, because short, clean cable runs are easier to protect and troubleshoot.
Plan the component layout
Place the battery low and secure, then leave practical space for the inverter, charge controller, fuses, bus bars, switches, and outlets. Do not design the box so tightly that you have to bend cables sharply or block cooling vents just to make everything fit.
A quick cardboard or paper layout helps more than it sounds. Mark where heavy cables will run, where fuses will be reachable, and where your hands can safely tighten terminals later.
Install the battery and components
Mount the battery first so the heaviest part cannot slide around. After that, attach the inverter, charge controller, outlets, switches, and any bus bars or terminal blocks to a stable surface.
Add fuses, breakers, and wiring
Protection should be part of the build, not an upgrade you add later. The main battery positive cable feeding the inverter needs a correctly rated fuse or breaker close to the battery, and accessory circuits should be protected according to their wire size and load.
- Secure the battery in the enclosure.
- Install the main fuse or breaker near the battery positive terminal.
- Run battery cables to bus bars or the inverter input.
- Fuse the charge controller connection to the battery.
- Add DC accessory circuits only if you need them.
- Connect AC outlets only in the way your inverter allows.
Connect the charge controller and inverter
Many charge controllers should be connected to the battery before the solar panels so they can detect system voltage correctly. Follow the connection order from the controller manual rather than assuming every model works the same way.
The inverter connection deserves extra care because it can draw very high DC current, especially in a 12V system. Keep those cables short, use the proper gauge, and confirm the fuse rating matches the cable and inverter requirements.
Connect the solar input and outlets
Connect the solar panels after the controller and battery side are set up correctly. Check panel polarity and make sure the panel string voltage stays within the controller's input limit, including colder conditions where panel voltage can rise.
For outputs, keep the design realistic. A simple setup with inverter AC outlets and one or two USB or 12V outputs is easier to use safely than a crowded control panel full of ports you rarely need.
How do you wire a solar generator safely?
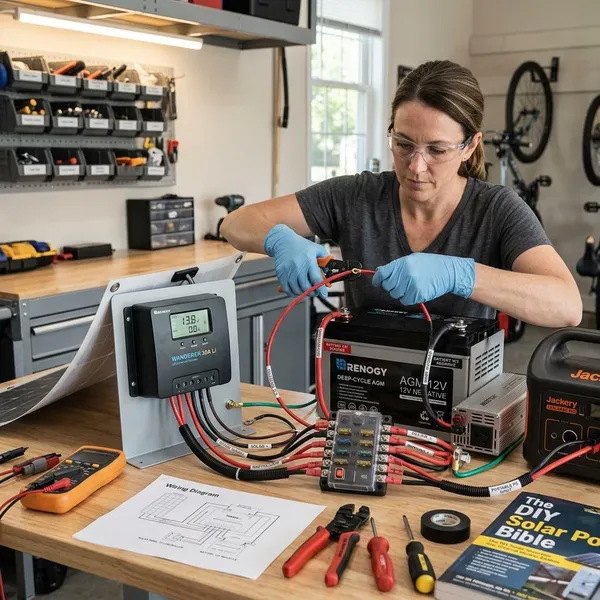
Safe wiring is mostly about current, heat, and fault protection. Low-voltage battery systems can move a surprising amount of current, so a wire that looks "thick enough" may still be wrong for a large inverter.
Use the correct wire size
Size wire by current, cable length, insulation rating, and acceptable voltage drop. The higher the inverter wattage and the lower the battery voltage, the more demanding the cable size becomes. When in doubt, use a proper ampacity chart and the inverter manual rather than copying a random build photo.
Install fuses and breakers correctly
A fuse protects the wire, not just the device at the end of the wire. Put overcurrent protection close to the source of power, especially on the battery positive lead, so a short circuit does not leave a long unprotected cable energized.
Secure and insulate all connections
Loose or exposed connections cause heat, arcing, and accidental shorts. Use properly crimped lugs, terminal covers, heat shrink, cable clamps, and grommets where wires pass through holes or near sharp edges.
Provide enough ventilation and cooling
Inverters and charge controllers need airflow, and batteries should not be cooked inside a sealed hot box. This matters even more in a garage, shed, or vehicle during summer, where a system can overheat before it ever reaches its rated output.
Leave clearance around fans and heat sinks, and avoid stacking parts so one component blows hot air directly into another. If the enclosure feels warm during a test run, solve that before relying on it in an emergency.
What DIY solar generator mistakes should you avoid?
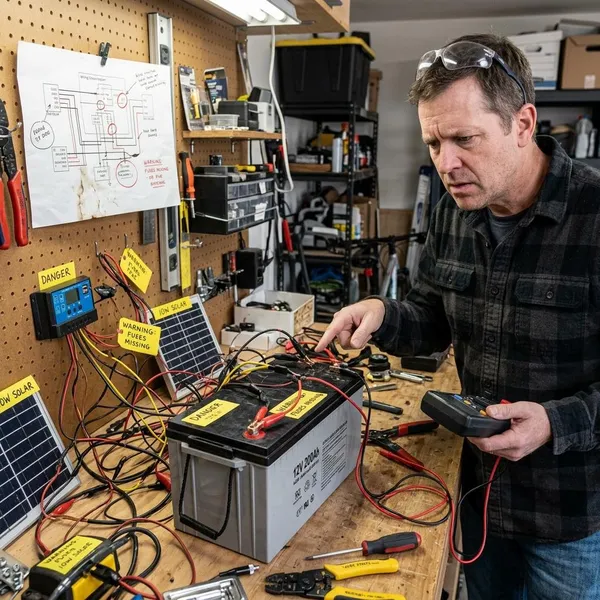
The mistakes worth taking seriously are the ones that damage equipment or create heat: undersized wires, reversed polarity, overloaded inverters, missing fuses, and blocked ventilation. A neat-looking build is not enough if the protection and sizing are wrong.
Using undersized wires
Undersized wire wastes power and can overheat under load. This is most common when someone pairs a large inverter with a 12V battery and underestimates how much DC current the inverter will pull.
If your planned loads are high, compare a 12V build with a 24V or 48V design before buying parts. Higher system voltage can reduce current, but it also requires compatible components and more care.
Reversing battery polarity
Reversed polarity can destroy a charge controller or inverter almost instantly. Use consistent cable colors, label terminals, and check with a multimeter before the final connection instead of trusting memory.
Overloading the inverter
An inverter can be too small even when the running watts look acceptable. Motors, compressors, pumps, and some appliances need startup surge, so leave headroom for the devices you actually plan to run together.
For a low-risk setup with lights and chargers, a smaller inverter may be fine. For a refrigerator, freezer, or medical device, choose a pure sine wave inverter with enough surge rating and test the appliance from a full battery before storm season.
Skipping fuses or breakers
Skipping fuses is one of the worst places to save money. A battery can deliver very high current into a short, and the fuse or breaker is what gives the cable a controlled failure point.
Blocking ventilation
Blocked ventilation usually shows up as shutdowns, reduced output, or shortened component life. Do not bury the inverter under blankets, push the enclosure against a wall, or leave the system running in direct sun without airflow.
Conclusion
A DIY solar generator is worth building when you can define your essential loads, choose compatible parts, and wire the system with proper protection instead of shortcuts. Keep the first version focused: lights, communication, refrigeration, or one critical device are better goals than trying to power half the house. If the build involves medical equipment, large appliances, or wiring you are not confident checking, buy a tested power station or get qualified help before relying on it during an outage.