
You can build a solar generator for backup power if you are comfortable planning a low-voltage DC system, choosing matched components, and checking every connection before use. Start with the loads you actually need to run, then size the battery, inverter, solar input, wiring, and protection around those loads instead of buying random parts and hoping they work together.
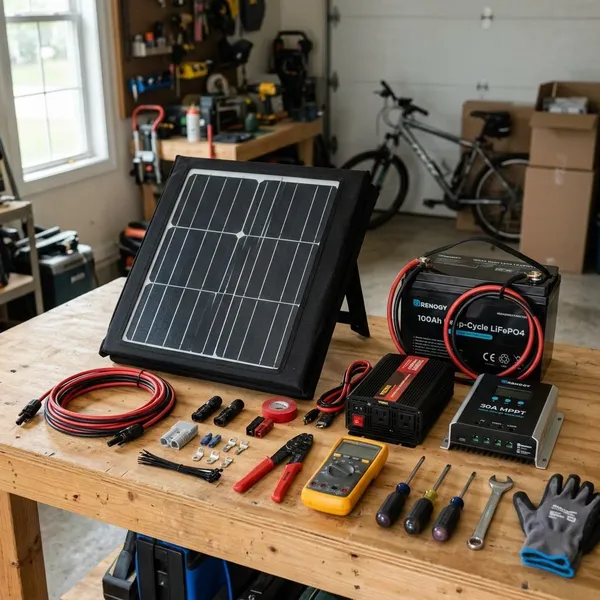
What do you need to build a solar generator?
A useful DIY solar generator is not just a battery in a box. It needs storage, charging, AC output, circuit protection, and a safe enclosure. The first check is simple: list the devices you want to power, their wattage, and how many hours you need them to run.
Battery for energy storage
The battery decides your runtime, so size it before you obsess over panels. A quick estimate is volts × amp-hours = watt-hours; a 12V 100Ah battery is about 1,200Wh before inverter losses and usable-capacity limits.
LiFePO4 batteries are usually the better choice for a portable backup build because they are lighter, tolerate deeper cycling better, and often include a built-in BMS. Lead-acid can work for a low-budget or fixed setup, but it is heavier and should not be drained deeply if you want it to last.
Inverter for AC power
Choose the inverter by checking two numbers: continuous watts and surge watts. Continuous wattage covers normal running power; surge wattage matters for devices with motors or compressors, such as refrigerators, pumps, and some tools.
For sensitive electronics, a pure sine wave inverter is the safer default. A 1,000W to 2,000W inverter suits many small backup builds, but bigger is not automatically better because large inverters can cost more and waste more power while idle.
Solar panels for charging
Solar panels determine how fast the battery can recover after use. If you only need weekend camping power, portable folding panels may be convenient; if the generator is for home outage backup, rigid panels usually give better value per watt.
As a rough planning check, compare daily use with realistic sun time. Using 500Wh in a day does not mean a 100W panel will reliably refill it in five hours after losses, clouds, panel angle, and controller efficiency. Give yourself margin, especially if the system has to work in winter or during storm season.
Charge controller for safe charging
A charge controller sits between the solar panels and the battery. It prevents the panels from charging the battery incorrectly, and most solar panels should not be connected directly to a battery.
- PWM: cheaper and acceptable for very small, simple setups.
- MPPT: usually better for larger panel arrays or higher panel voltage.
- Lithium profile: important if you use a LiFePO4 battery.
Check the controller's maximum solar input voltage and current before buying panels. Exceeding those limits is an easy way to ruin a new build.
Wiring, fuses, connectors, and enclosure
The less exciting parts are often the parts that keep the build safe. Battery cables, fuses, breakers, busbars, lugs, and disconnects must be rated for the current they may carry, not just the average load you expect.
Use an enclosure with enough room for cable bends, airflow, and covered terminals. A box that looks neat but crushes wires, blocks inverter fans, or leaves live terminals exposed is not a good solar generator case.
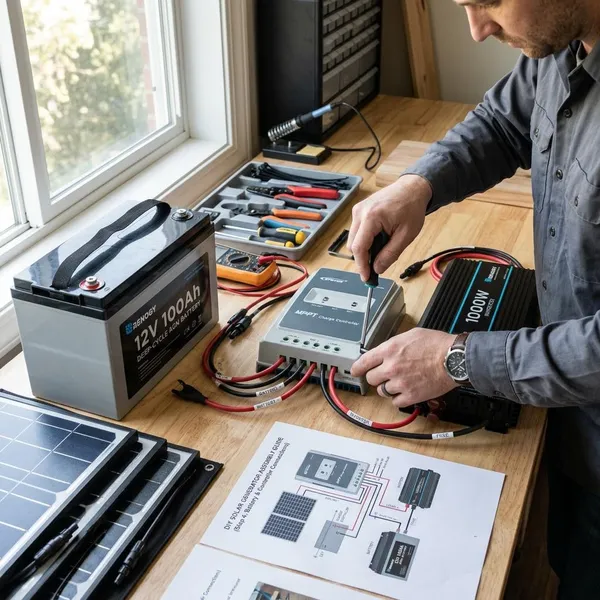
How to build a solar generator step by step
Build the system in stages: layout first, mounting second, wiring third, testing last. Do not cut every cable at the start. Mocking up the parts first prevents tight bends, blocked vents, and awkward fuse locations.
Plan the component layout
Put the heaviest part, usually the battery, low and secure. Keep the inverter close to the battery to reduce cable length, but leave space around its vents and fans.
- Place the battery, inverter, controller, busbars, and outlets in the empty case.
- Mark cable routes before drilling holes.
- Keep DC input, battery cables, and AC output wiring tidy and separate where practical.
- Put fuses and disconnects where you can reach them without dismantling the box.
- Confirm the lid still closes without pressing on wires.
Install the battery and components
Secure the battery so it cannot shift when the case is carried or bumped. Mount the inverter, charge controller, fuse holders, outlets, and busbars with hardware strong enough for the enclosure material.
Portable builds need a little extra thought here. Vibration, lifting, and being loaded into a vehicle can loosen weak mounts, so do not rely on thin plastic alone for heavy parts.
Add fuses, breakers, and wiring
Install protection before the system becomes live. The main positive cable from the battery should have a correctly rated fuse close to the battery, and branch circuits should be protected according to their wire size and expected current.
Connect the charge controller and inverter
Many charge controllers should be connected to the battery before solar panels are connected, but follow the sequence in the manufacturer's manual. Then connect the inverter to the battery or to properly rated busbars with short, heavy cables.
Connect the solar input and outlets
Install the solar input port, MC4 connection, or panel socket so it cannot be pulled loose easily. Then wire AC outlets, USB outlets, or 12V sockets only within their rated current and voltage.
Check all connections before startup
Before the first power-up, tug gently on each crimp, confirm fuse placement, look for exposed copper, and check that wires cannot rub against sharp edges. Start with no load, then test a small device, then test the largest load you realistically plan to use.
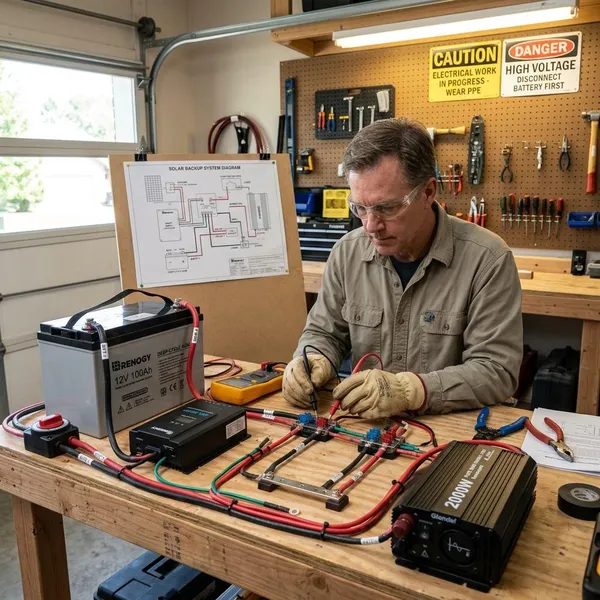
How do you wire a solar generator safely?
Safe wiring comes down to four priorities: correct wire size, correct circuit protection, secure insulation, and heat management. The battery-to-inverter side usually deserves the most attention because current can be very high in a low-voltage system.
Use the correct wire size
Size wire for the maximum current that circuit may carry, then consider cable length and voltage drop. A 1,000W load on a 12V system can draw more than 80 amps before losses, so thin accessory wire is not acceptable for inverter cables.
Install fuses and breakers correctly
A fuse protects the wire, not just the device at the end of the wire. Place protection as close as practical to the power source so a short circuit does not turn the cable into the failure point.
- Battery positive: fuse near the battery terminal.
- Inverter feed: protect according to inverter current and cable size.
- DC outlets: use separate protection for smaller branch circuits.
- Solar input: add suitable DC-rated protection when the panel configuration requires it.
Secure and insulate all connections
Cover terminals, use heat shrink or terminal boots where needed, and add strain relief where cables pass through the enclosure. Loose tools, dropped screws, and vibration are real short-circuit risks around batteries.
Provide enough ventilation and cooling
Inverters and charge controllers need airflow, especially when running near their rated output. Do not bury fans against foam, clothing, stored cables, or the wall of a tight case.
Lead-acid batteries need extra caution because charging can release gases, so they should not be sealed into a poorly ventilated box. LiFePO4 is usually easier to package, but the inverter and controller still produce heat.
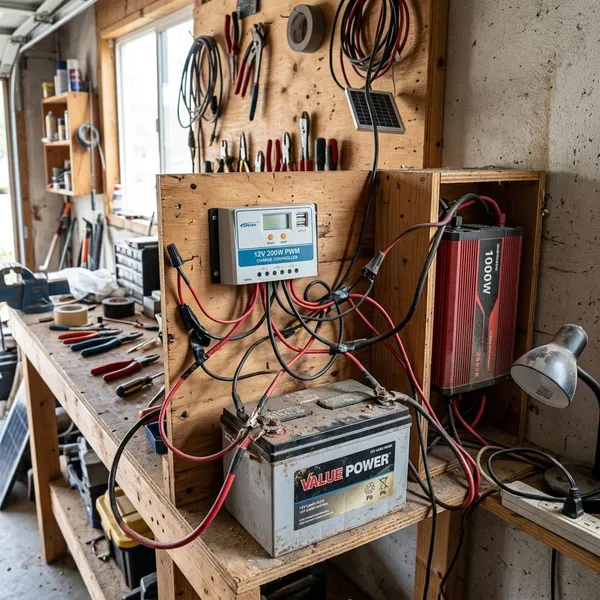
What DIY solar generator mistakes should you avoid?
Most DIY solar generator problems come from rushing the basics: guessing wire size, skipping fuses, reversing polarity, or asking a small inverter to run a high-surge appliance. The safest approach is to design for your worst normal use, not the easiest test you can pass on the workbench.
Using undersized wires
Undersized wires waste energy, create voltage drop, and can overheat. This is especially risky on 12V inverter circuits because current rises quickly as wattage increases.
Do not copy cable size from a photo of someone else's build. Calculate the current, measure the cable run, then choose the wire and fuse together.
Reversing battery polarity
Reverse polarity can destroy an inverter, controller, outlet module, or battery electronics almost instantly. Use consistent red and black wiring, label terminals, and confirm polarity with a multimeter before the final connection.
Overloading the inverter
An inverter can be overloaded even when the running wattage looks fine. Refrigerators, pumps, and some power tools may need several times their running power for a short startup surge.
If a refrigerator is your main reason for building the generator, check both the appliance's running consumption and startup behavior. Give the inverter headroom instead of sizing it exactly to the lowest number on the label.
Skipping fuses or breakers
Skipping fuses is not a harmless shortcut. A battery can deliver enough current into a short circuit to melt insulation or start a fire before you have time to react.
If you need to reduce the budget, simplify the output ports or choose a smaller inverter before you remove proper circuit protection.
Blocking ventilation
A tightly packed case may look clean, but trapped heat can trigger inverter shutdowns and shorten component life. Leave clear intake and exhaust paths, and test the system under the kind of load you actually expect to use.
Conclusion
A DIY solar generator is worth building when you size it around real loads, use matched components, and treat wiring protection as part of the design rather than an add-on. If you are unsure about high-current DC wiring, keep the build small or get qualified help; a simple, safe backup system is far better than a powerful box you cannot trust during an outage.