
Building a small solar panel is realistic if you start with ready-made solar cells and treat it as a low-voltage hobby project, not a replacement for a certified rooftop panel. The main things to get right are the cell layout, clean solder joints, moisture protection, and testing before you connect anything valuable.
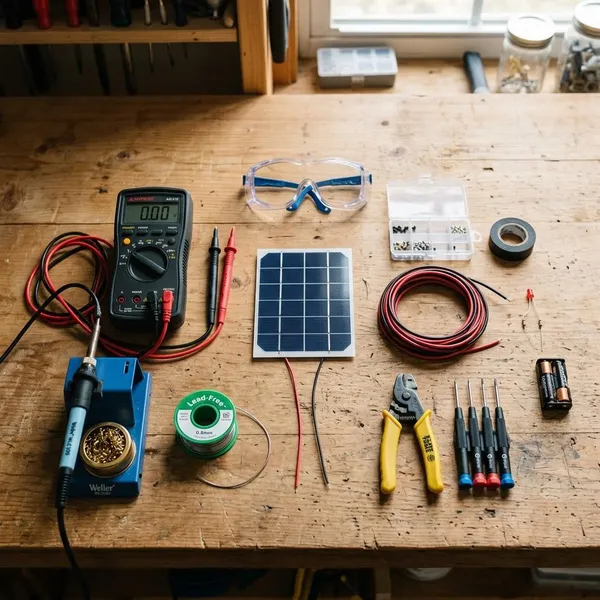
Materials and Tools You Need
Choose parts for the way you plan to use the panel. A learning project that sits on a desk can be simpler, while a panel left outside for weekends needs better sealing, a tougher cover, and safer cable strain relief.
Solar cells and connecting wire
Use ready-made photovoltaic cells, preferably pre-tabbed cells if this is your first build. Bare cells are thin, brittle, and easy to crack, so pre-tabbed cells remove one of the most annoying beginner problems.
A single silicon cell usually produces only about half a volt in good light, so the useful voltage comes from wiring several cells in series. Buy a few spare cells from the same batch; one cracked cell during soldering can stop the project if you have no replacement.
- Pre-tabbed solar cells for easier assembly
- Tabbing wire if the cells are not pre-tabbed
- Bus wire for the end connections
- Flux pen for cleaner soldering
- Spare cells for breakage or weak output
Backing, cover, frame, and encapsulant
The backing should stay flat and resist moisture. Sealed plywood can work for an indoor learning panel, but aluminum composite sheet, PVC sheet, or fiberglass board is a safer choice for anything that may sit outdoors.
For the front cover, tempered glass is more durable, while acrylic or polycarbonate is lighter and easier to cut. Plastic covers are fine for a temporary or portable panel, but they scratch more easily and may age faster in sun.
Use a frame to protect the edges and reduce flex. For sealing, neutral-cure silicone or a solar-safe sealant is more suitable than random household caulk, especially around electrical connections and the cover edge.
Output leads and connectors
Plan the output before you solder the final wires. Red and black leads make testing easier, but the wire size, connector, and strain relief matter more than the color.
- SAE or Anderson connectors for hobby battery setups
- DC barrel plugs only when voltage and polarity are clear
- Alligator clips for short testing, not permanent use
- A small junction box if the panel will be moved often
- Heat-shrink tubing where wires leave the panel
If your goal is charging a phone, do not treat the raw panel output like a USB charger. You will normally need a voltage regulator, USB charging module, power bank, or battery-based setup between the panel and the phone.
How to Build a Solar Panel Step by Step
Work in short stages and test after each major connection. Most failed homemade panels are not ruined by one dramatic mistake; they fail because a weak joint, cracked cell, or trapped moisture was sealed inside and discovered too late.
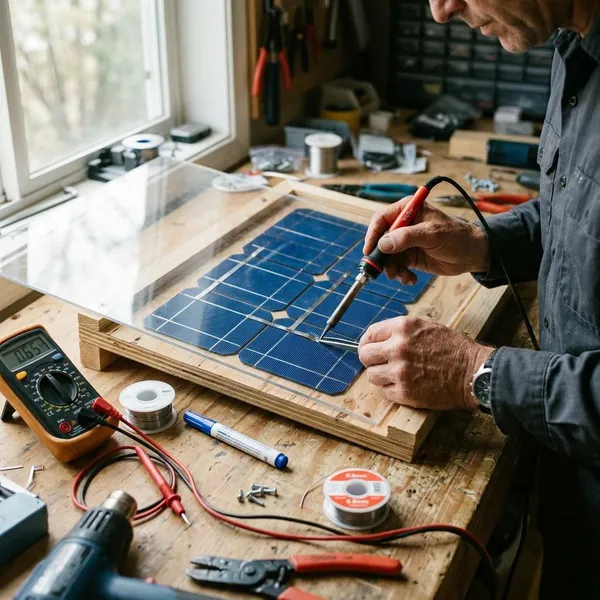
Inspect and test the cells
Check every cell under good light before layout. Set aside cells with large cracks, lifted tabs, missing corners, or broken grid lines; small cosmetic chips may still work, but they are better used only if you have no cleaner option.
Test cells in direct sun or under a strong lamp with a multimeter. You are looking for clear polarity and similar voltage from cell to cell, not laboratory precision.
Lay out the cells
Place the cells on the backing without glue first. Leave small gaps so the tabs are not pulled tight, and make sure the cover will fit without pressing on the cell faces.
Sketch the wiring path before soldering. For a small learning panel, a simple series layout is easiest because each cell adds voltage; for example, a group of cells can be arranged to feed a small charge controller, converter, or test load. If you need more current rather than more voltage, parallel wiring becomes possible, but it needs more careful matching and protection.
Solder the cells into strings
Soldering is the slowest part of the build. Support the cells on a flat surface, use flux lightly, and heat each joint only long enough for the solder to flow.
- Tin the contact area if needed.
- Attach tabbing wire to the front contacts.
- Connect that tab to the rear pads of the next cell.
- Repeat until the string reaches the planned cell count.
- Leave bus wire at the ends for final output connections.
If a tab lifts or a cell cracks across the main current path, replace it now. A patched weak cell may work on the bench but become the first failure point when the panel is moved or heated in the sun.
Test and connect the strings
Test each string before joining it to another string. The voltage should roughly follow the number of cells in that string, and a sudden low reading usually means a bad solder joint, a reversed cell, or a cracked cell.
When connecting strings, keep the design simple unless you already understand series and parallel wiring. A beginner panel for occasional use is usually better with a modest, easy-to-test layout than a complicated layout that is hard to troubleshoot later.
Secure the cells and output leads
Secure the cells only after the electrical tests look right. Use small dots of suitable adhesive on the back of the cells rather than spreading a thick layer everywhere; too much adhesive can create stress as the panel expands and cools.
- Mark positive and negative leads clearly.
- Add strain relief where wires leave the panel.
- Keep bus wire from rubbing against sharp frame edges.
- Label the expected voltage before you forget the layout.
How to Test and Use Your Solar Panel
Testing tells you what the panel can actually do, not what you hoped the layout would produce. Start with polarity and voltage, then test under load before connecting a battery, phone, or other device.
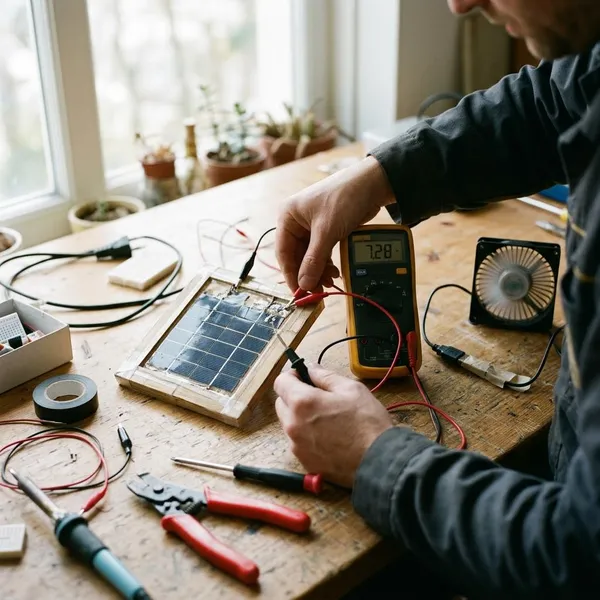
Check polarity and open-circuit voltage
Put the panel in direct sun and set the multimeter to DC voltage. Touch the probes to the output leads; a positive reading confirms polarity, while a negative reading means the leads are reversed.
Open-circuit voltage, often shown as Voc, is measured with nothing connected. It is useful for checking the build, but it is not the voltage your device will necessarily receive during use.
Measure output with a suitable test load
A panel can show good voltage with no load and still perform poorly when asked to do work. Test it with a proper load, such as a rated resistor, DC electronic load, or a battery setup through the correct controller.
- Record voltage at the load.
- Record current if your meter setup supports it safely.
- Note sun strength and panel angle.
- Repeat the test after the panel warms up.
Avoid long short-circuit tests unless you know what you are measuring and your meter is rated for the current. For a beginner, a controlled load is safer and more useful.
Match the output to your device requirements
Match the panel to the device, not the other way around. Check the device input voltage, expected current, and whether it needs stable regulated power.
A garden sensor, small LED project, or trickle-charged hobby battery is more forgiving than a phone or lithium battery pack. For electronics that expect steady 5V USB power, use a regulator or charging module instead of connecting directly to the panel, because clouds and panel angle can change output quickly.
Use a compatible charge controller for batteries
Use a charge controller whenever the panel charges a battery unless the battery product specifically includes suitable solar charging electronics. Direct panel-to-battery charging can overcharge, undercharge, or damage the battery depending on chemistry and sunlight conditions.
Match the controller to the battery type and voltage. Lead-acid and lithium batteries have different charging needs, and lithium packs often require tighter protection than a simple DIY panel can provide on its own.
How to Fix Common DIY Solar Panel Problems
When output is lower than expected, check the easy external causes before cutting into the panel. Shade, angle, dirt, and loose leads are faster to fix than sealed wiring faults.
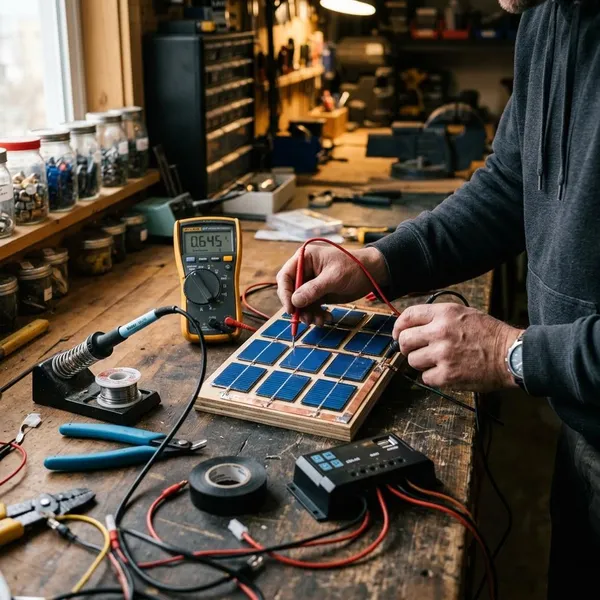
Remove shading and check panel placement
Move the panel into full sun and remove dust, pollen, leaves, or anything casting a narrow shadow. With series-connected cells, one shaded area can reduce the output of the whole string more than beginners expect.
For a fixed outdoor spot in the United States, south-facing exposure is often a good starting point, but the best angle changes by season and location. For a temporary project, simply adjust the panel toward the strongest light and compare the meter readings.
Check loose joints and wiring errors
Inspect solder joints for dull, cracked, or lifted connections. Gently move the output leads while watching the meter; if the reading jumps, the problem is likely mechanical as much as electrical.
- Retest each string separately.
- Confirm positive-to-negative series connections.
- Look for one reversed cell in the chain.
- Check that connector polarity matches the device.
Replace cracked or damaged cells
A cracked cell may still show voltage, but it often loses current and becomes unreliable when the panel flexes or heats up. If the crack crosses the active area or output drops sharply under load, replacement is usually better than trying to ignore it.
Use a matching spare cell when possible. Mixing very different cells in one string can make the weaker cell limit the output of the stronger ones.
Inspect for moisture and failed seals
Fogging, water spots, corrosion, or a cloudy cover usually point to a sealing problem. Drying the panel without fixing the leak only delays the same failure.
If you can open the panel without breaking it, let it dry fully, clean affected connections, and reseal the edge or wire exit point. If the backing has swollen or warped, rebuild that part with a more weather-resistant material instead of sealing over it.
Conclusion
A homemade solar panel is best treated as a hands-on way to learn solar wiring and power testing, especially for small low-voltage projects. If the panel must run important equipment, survive all weather, or deliver predictable power every day, buying a certified commercial panel is the safer and usually better-value choice.